

| Attention Before you read this post, I highly recommend you check out my resources page for access to the tools and services I use to not only maintain my system but also fix all my computer errors, by clicking here! |
The DNS Unlocker is essentially pop-ups and coupons that display on your web browser without your consent. DNS Unlocker is an adware program, which is basically a way of describing a potentially unwanted program (PUP), because it’s usually installed on the user’s computer without knowledge or consent, modifying the web browser settings in order to display those annoying pop-ups, every time you surf the web.
DNS Unlocker can be installed on virtually every web browser known to date, as either an extension or add-on, with the sole purpose of soliciting ads for profit. On the opposite side, the DNS Unlocker is capable of slowing down system performance and enables others to track the particular websites that you are browsing; this information is usually used for delivering the most relevant ads to the user.
Symptoms of the DNS Unlocker
Ultimately, the ads that the DNS Unlocker display, aim to promote the installation of other content, whether legitimate or illegitimate; content such as web browser toolbars, optimisation tools and other related products are what you are most likely to encounter. With that said, the most common symptoms associated with a system “infected” with the DNS Unlocker, are as follows:
- Additional advertising banners appear beside web pages that you visit.
- Random texts on web pages are turned into contextual ads.
- Random pop-ups appear recommending (fake) updates for tools and applications you don’t have on your system.
- The user may accidently install additional adware tools, further deteriorating system performance, leaving it more susceptible to viruses.
Why Remove It?
The DNS Unlocker program was more than likely installed on your computer without your consent, hijacking your web browser in the process, redirecting your web searches to random advertisements for the sole purpose of generating revenue for the ad publishers.
These PUPs are quite often included in the installation of other legitimate programs, such as software and diagnostic tools. Most users go through the installation process (of an application) without paying much addition to the additional tools they have agreed to install on their system. Many of these users wrongly belief that such additional tools are required for the smooth functionality of the program they are installing, but that is anything but the case.
With that said, it’s always best to choose custom installation, when installing anything and just deselect anything that you are not familiar with, essentially any additional tools that you find. Only install software that you can trust.
How to Remove It
To follow is a comprehensive guide on how to successfully remove this adware program from your computer, along with any additional lingering files and/or programs.
When removing this tool, it’s very important that you remove it along with any related components, because automatic updates are capable of restoring it.
- It’s possible for you to remove the DNS Unlocker using the built in InstallShield, providing the uninstaller for the program is intact.
- However, in additional to removing the tool, you will also be required to undo any recent Windows settings changes, while removing any additional add-ons or extensions installed on your web browsers.
Both of the steps outlined below must be followed in order to successfully remove this tool. With that said, continue reading for my solutions.
Use InstallShield and Spyhunter
This is the quickest and most efficient way of removing DNS Unlocker from your computer. It involves using the InstallShield to remove the application, then running Spyhunter to remove the registry entries, remove the browser add-ons or extensions, and reset DNS settings (if they’ve been modified). Anyway, to carry out this method, simply do the following:
InstallShield
1. First, boot into your computer with full administrative rights.
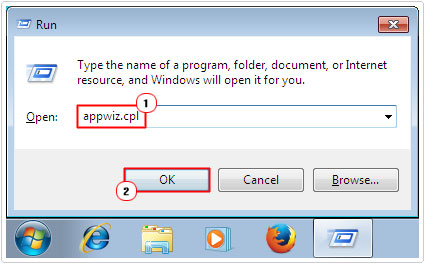
2. Then press  + R, type appwiz.cpl and click on OK.
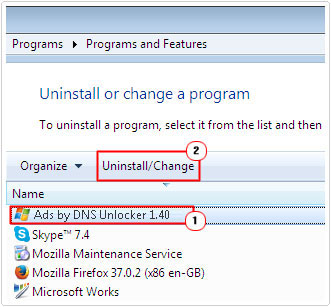
3. This will load up Add or Remove Programs [Windows Vista/7/8/8.1/10: Uninstall or change a program], from here, click on DNS Unlocker, then click on Remove [Windows Vista/7: Uninstall].
Spyhunter
1. Once InstallShield has successfully removed the application, you will need to download and install Spyhunter from here: CLICK HERE TO CHECK OUT SPYHUNTER
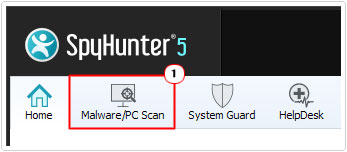
2. Once you have Spyhunter up and running, click on Malware/PC Scan.
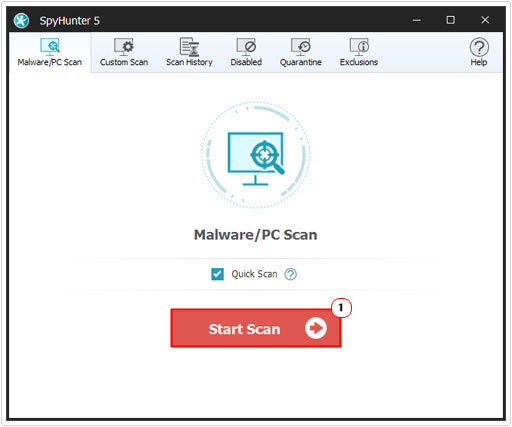
3. When the Malware/PC Scan screen appears, click on Start Scan.
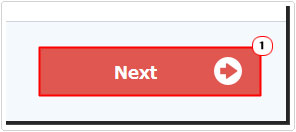
3. Once Spyhunter finishes scanning your computer, click on the Next button, to repair your operating system.
 The solution(s) below are for ADVANCED level computer users. If you are a beginner to intermediate computer user, I highly recommend you use the automated tool(s) above! The solution(s) below are for ADVANCED level computer users. If you are a beginner to intermediate computer user, I highly recommend you use the automated tool(s) above! |
Remove DNS Unlocker from Browser(s)
This step is only necessary if you did not run Spyhunter. Anyway, this method entails resetting all the add-ons and/or extensions on your web browser(s), depending on which browser you actually use. In order to do this, simply do the following:
Firefox
1. First, boot into your computer with full administrative rights.
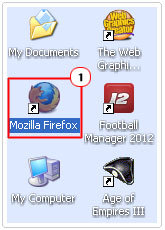
2. Then load up Firefox by double click on its Desktop icon.
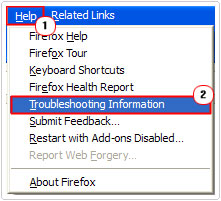
3. Once Firefox is up and running, click on Help -> Troubleshooting Information.
4. This will take you to the about:support page, from here, click on Refresh Firefox.
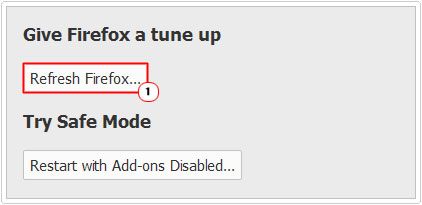
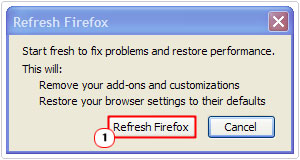
5. A confirmation applet should appear, click on Refresh Firefox.
Internet Explorer
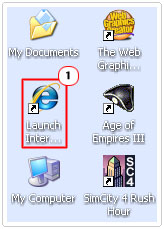
1. First, load up Internet Explorer by double clicking on its Desktop Icon.
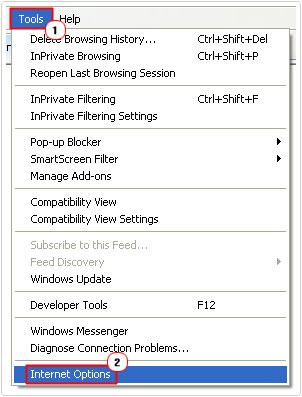
2. Then click on Tools -> Internet Options.
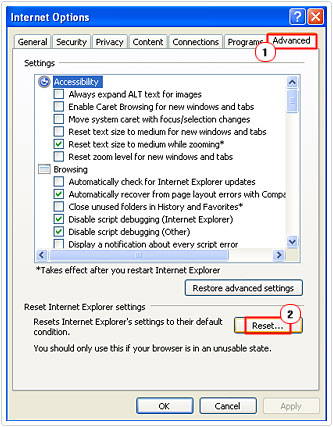
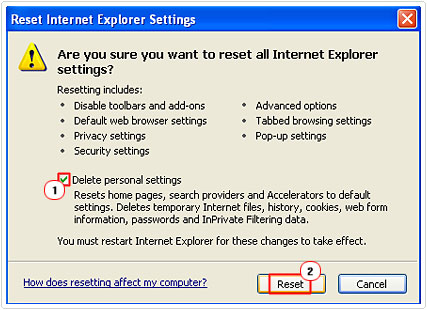
3. Once Internet Options loads up, click on the Advanced Tab, and then click on Reset.
4. A Reset Internet Explorer Settings applet will appear, click on Reset.
Google Chrome
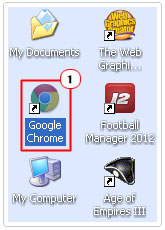
1. Load up Google Chrome by double clicking on its Desktop Icon.
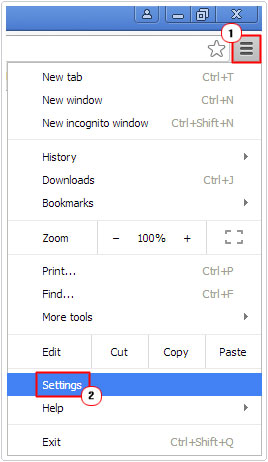
2. Then click on the Menu Icon (in the top right hand corner) and select Settings.
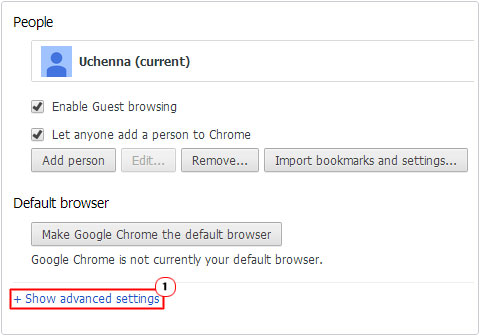
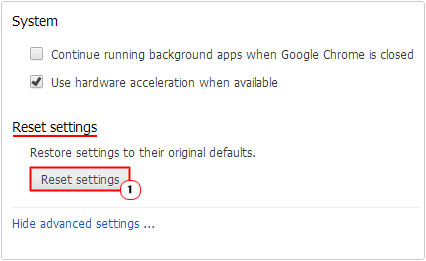
3. This will take you to the chrome://settings page, from here, scroll down and click on Show Advanced Settings.
4. From the Advanced Settings area, click on the Reset Settings button, under Reset Settings.
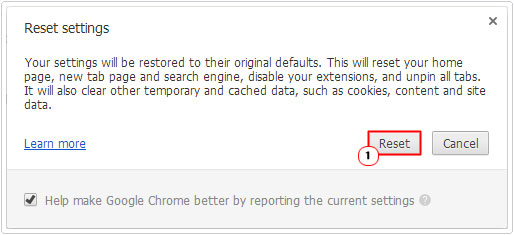
5. A confirmation applet should appear, simply click on Reset.
Repair DNS Settings
One thing many users fail to take into account is that the DNS Unlocker, in some cases, not all, tampers with your systems DNS settings. However, if you ran Spyhunter, then this should no longer be an issue, as it also repairs this area of the system. However, if you did not, then you will be required to enter this area of your operating system and fix it manually. To do that, simply follow the instructions below:
1. First, boot into your computer with full administrative rights.
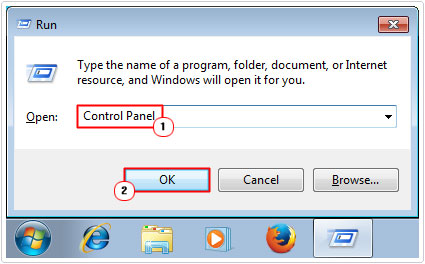
2. Then press + R, type Control Panel and click on OK.
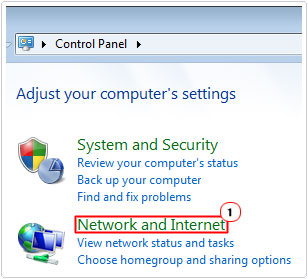
3. Once Control Panel loads up, click on Network and Internet Connections [Windows Vista/7/8/8.1/10: Network and Internet].
4. This will take you to the Network and Internet Connections [Windows Vista/7/8/8.1/10: Network and Internet] screen, from here click on Network Connections [Windows Vista/7/8/8.1/10: View network status and tasks].
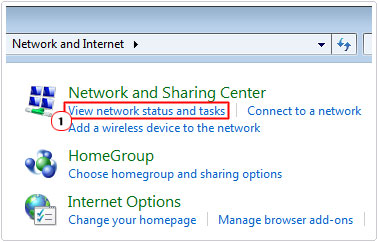
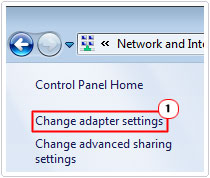
5. On Windows Vista/7/8/8.1/10 you will be taken to the Network and Sharing Center, from here, click on Change Adapter Settings.
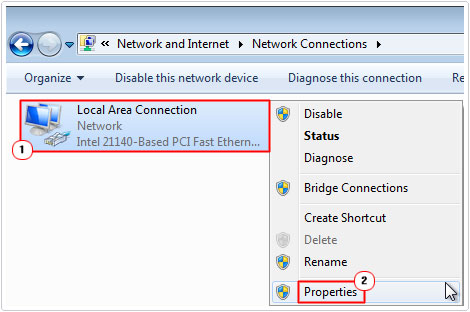
6. On the Network Connections screen, right click on your Internet Connection and select Properties.
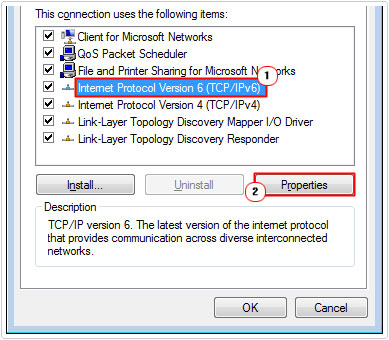
7. Your Internet Connection Properties applet should appear, from here, click on Internet Protocol (TCP/IP) [Windows Vista/7/8/8.1/10: Internet Protocol Version 6 (TCP/IPv6)] and click on Properties.
8. The Internet Protocol (TCP/IP) [Windows Vista/7/8/8.1/10: (TCP/IPv6)] Properties applet should appear, from here, make sure Obtain an IP [Windows Vista/7/8/8.1/10: IPv6] address automatically is selected for both IP address and DNS server, and then click on OK.
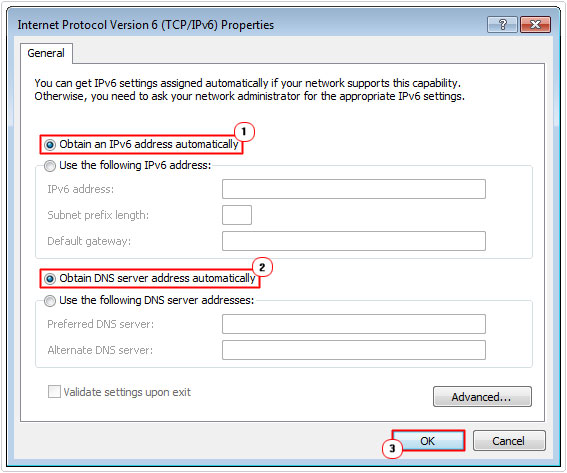
9 On Windows Vista/7/8/8.1/10 repeat steps 7 – 8, but this time select Internet Protocol Version 4 (TCP/IPv4).
Run Disk Cleanup
The last step involves using Disk Cleanup to remove any remaining fragments of the application from your temporary folder. Again, if you used Spyhunter, then you do not have to do this. Anyway, in order to run Disk Cleanup, simply do the following:
1. First, boot into your computer with full administrative rights.
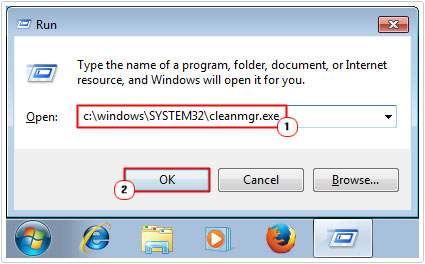
2. Then press + R, type c:\windows\SYSTEM32\cleanmgr.exe and click on OK.
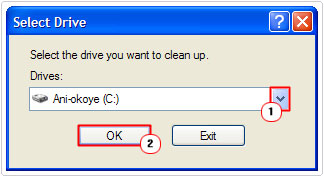
3. An applet titled Select Drive will appear (if you have more than one drive) choose the C: drive, then click on OK.
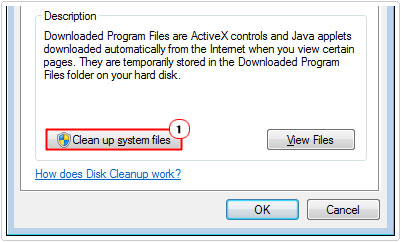
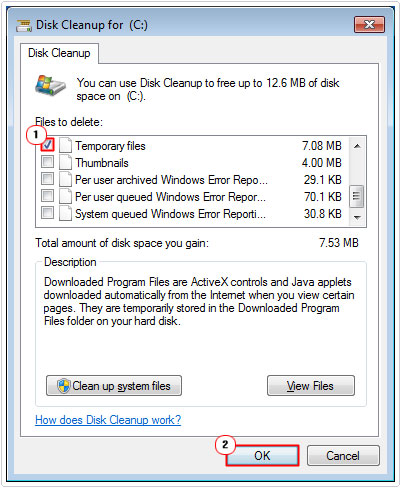
4. On Windows Vista/7/8/8.1/10: when Disk Cleanup finishes scanning your C: drive, click on Clean up system files.
5. Then, check the box next to Temporary files and click on OK.
Are you looking for a way to repair all the errors on your computer?

If the answer is Yes, then I highly recommend you check out Advanced System Repair Pro.
Which is the leading registry cleaner program online that is able to cure your system from a number of different ailments such as Windows Installer Errors, Runtime Errors, Malicious Software, Spyware, System Freezing, Active Malware, Blue Screen of Death Errors, Rundll Errors, Slow Erratic Computer Performance, ActiveX Errors and much more. Click here to check it out NOW!